
The invitation email is used for any users imported or added manually to your Organization or Opportunities. Creating a custom invitation email that can be branded and includes specific messaging can help encourage users to click the link to join your Organization, Opportunity, or have them sign up for more Shifts. To create your custom invitation emails, follow these steps to easily create those emails and save them as templates for future use.
Note: If an individual has unsubscribed from Bloomerang Volunteer emails, they will not receive invitation emails.
If anyone in the recipient list has unsubscribed from email communications, you’ll receive a prompt that lists which email addresses won’t be sent the message. You can then choose to contact them via a different method.
Step 1: Select and Send Message
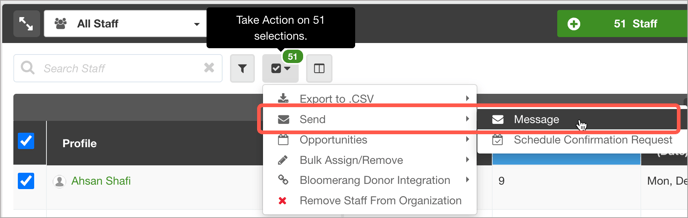
First, you will want to select the user(s) to whom you want to send the invitation email. Once they have been selected you will be able to use the take action dropdown, and under "Send" you will choose "Send Message." This can be done at the Organization level or from within an Opportunity.
Step 2: Create Your Message
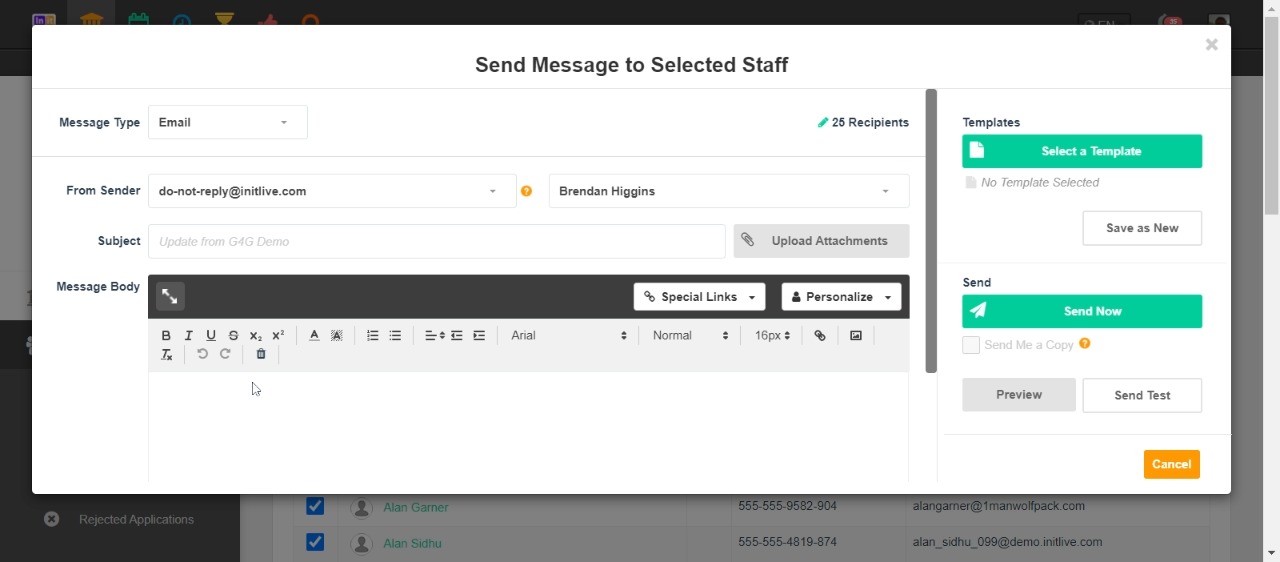
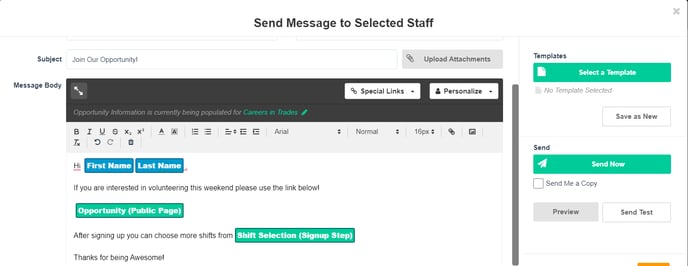
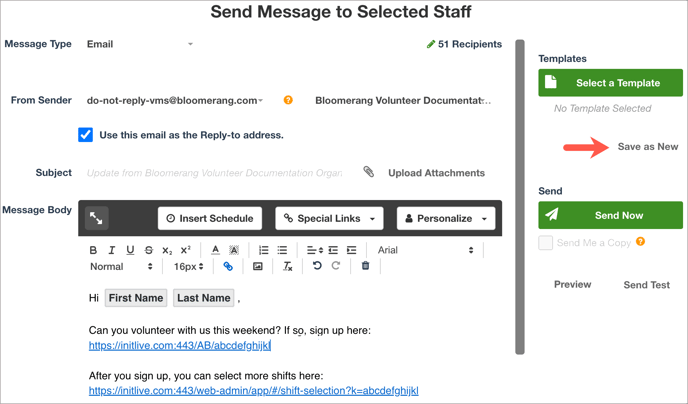
The send message pop-up will open, and this is where you can customize the email. You will want to ensure that your sender name, sender email, and subject line are set to what you want to have.
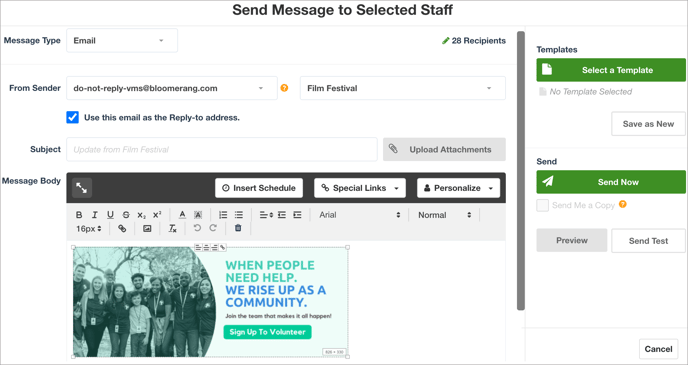 Next, you will create the message and include the special links or personalization fields for the invitation links you want to use. There are best practices for using both of these methods, so let's look at them both.
Step 3: Special Links and Personalization Fields
Special Links:
Suppose you are looking to send a broadcast message to all your volunteers with the Public Page links for several Opportunities. In that case, you will need to use the Special Links as the Personalization fields will only work within the context of one Opportunity at a time.
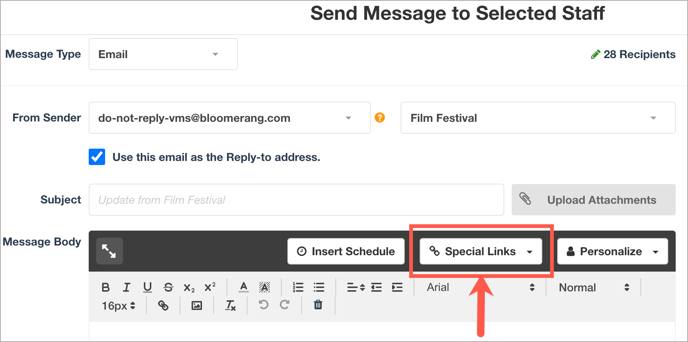
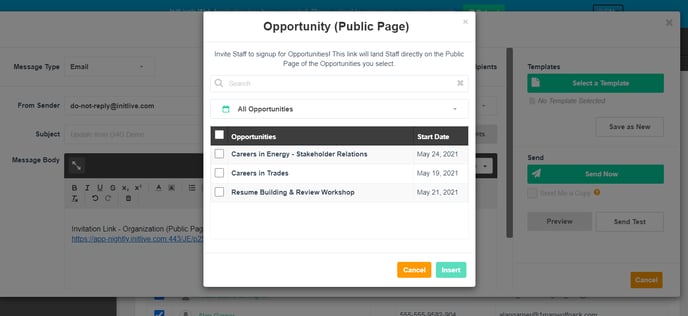
Choosing to use Special Links for your invitation email provides the flexibility of sending out an invitation for one specific Opportunity or selecting multiple to try and drive up volunteer engagement. To insert a Special Link, use the dropdown and choose the type of link you want to insert. In this case, we will be selecting the invitation links, whether it be for an Organization, Opportunity, or Shift selection step.
Depending on where you are sending the invitation message, the system may or may not prompt you to select which Opportunity you want to use for the special link. If you are working from within a specific Opportunity, the Shift selection and Public Page for that Opportunity will be used. If you are at the Organization level when selecting those Special Links, the system will ask you to choose which Opportunities you want to include.
After you have inserted all the invitation Special Links, you can either save the message as a template, or you can send it out to the selected volunteers.
Personalization Fields:
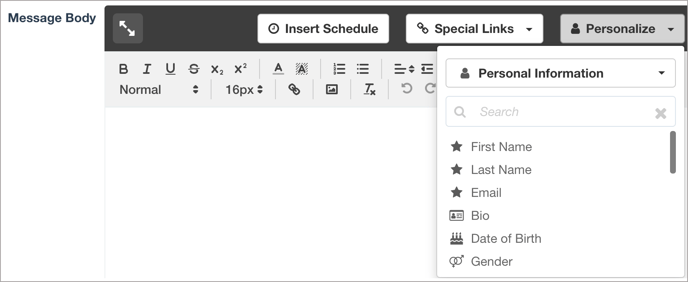
The second method for sending out invitation emails is to use the Personalization Fields. These fields allow managers to easily create messages and templates that can be used across the Organization, no matter which Opportunity it is being sent from. The method is the recommending best practice if a manager is looking to create a generic template that can be used whenever new users are imported or individually added into the system.
When Opportunity Public Page or Shift Selection Personalization Fields are added to message body, the system will ask which Opportunity the fields should point to. When using the Personalization Fields they can only be sent within the context of one Opportunity, but you can change that Opportunity before sending if the wrong one was chosen.

Step 4: Save Your Template
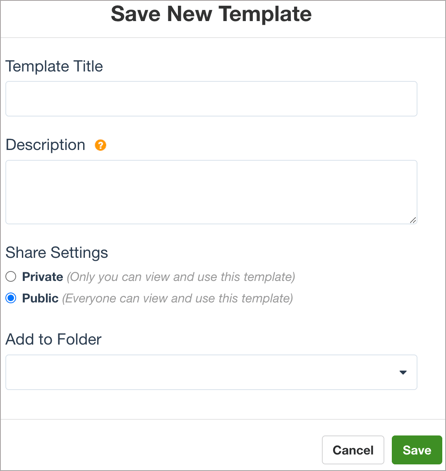
Whether you have used Special Links or Personalization Fields, saving the message as a Template can save time down the road. After you have entered all the info into the message, and before you send it, you can save that message as a Public or Private template.
To save your message as a template, simply select the "Save as New" button on the right side of the message pop-up. This will keep everything in the message, including the sender name, email, and subject line.
Step 5: Review Before Sending
Once you have gone through and added all the text, Special Links, and Personalization Fields that you want to include in your invitation email, it is always best to preview the message. And send yourself a test to ensure everything is how you planned it. When looking at the preview, you can see what the email will look like on a desktop, tablet, or mobile phone and select from the list of recipients to see the email with Personalization Fields filled out.