- Bloomerang Volunteer Help Center
- Managing Your Schedule (Administrator)
- Understanding the Schedule
-
Getting Started as a Volunteer
-
Getting Started as an Administrator
-
Managing Your Organization (Administrator)
- Public Page
- Volunteers
- Form Questions
- Applications and Background Checks
- Opportunities
- Languages & Translation
- Salesforce Integration
- Bloomerang CRM Integration
- Organization Qualifications
- Reports
- Signup Workflow / Recruitment
- Tags
- Email Templates
- Personalization Fields
- Email Communications
- Measure Volunteer Impact
-
Managing Your Opportunity (Administrator)
- Public Page
- Form Questions
- Signup Workflow / Recruitment
- Volunteers
- Opportunity Settings
- Roles
- Qualifications
- Venues & Locations
- Groups
- Availability
- Attendance Tracking
- Reports
- Languages & Translation
- Hours Worked / Service Time Tracking
- Tags
- Email Templates
- Personalization Fields
- Email Communications
-
Managing Your Schedule (Administrator)
-
Using the Mobile App (Administrator)
How do I filter in the Schedule?
Use filters and search to narrow down your data.
Use Filters
In the schedule for an opportunity, you can filter your data in different ways. In most cases, filters work best in the List View because you can see the list columns added by filters. You can also use filters in the Calendar View.


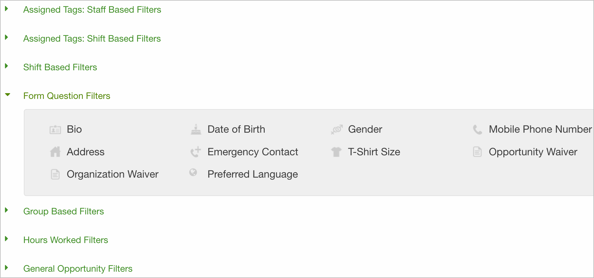
The Scheduled Volunteers view also includes Form Question filters, in addition to other filters.


Use the Search Bar to Filter
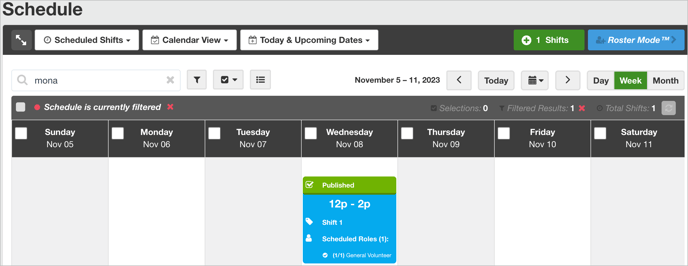
The Search Schedule bar allows you to search across all of the schedule data, not just the shift titles. This expanded search allows you to find exactly what you need, quickly.

For example, if you need to show only a specific person within all scheduled shifts, type their name in Search Schedule bar. Only shifts that include that person appear.
